Joys of Pi: Test Server and Monitor host for the startup developer
I work at a startup. We get things done on a budget.
This is a summary of how I got:
- •
A new test server for my local dev machine
- •
An extra monitor for my dev setup
- •
Tons of fun!
And all for less than .
Before we get started, I love the idea of a local build server for the low latency and complete control you have over the machine. It provides good contrast with the reliability and scaling of using a cloud solution: I like having my local workflow as nimble as possible and use the big guns for staging and production. And ideally you end up with something fun to setup and use.
Raspberry Pi 2 came out early this year, and is enough to make any technophile dream of countless garage projects to put together with it.
Just looking at the beauty of the device ups my heartbeat:
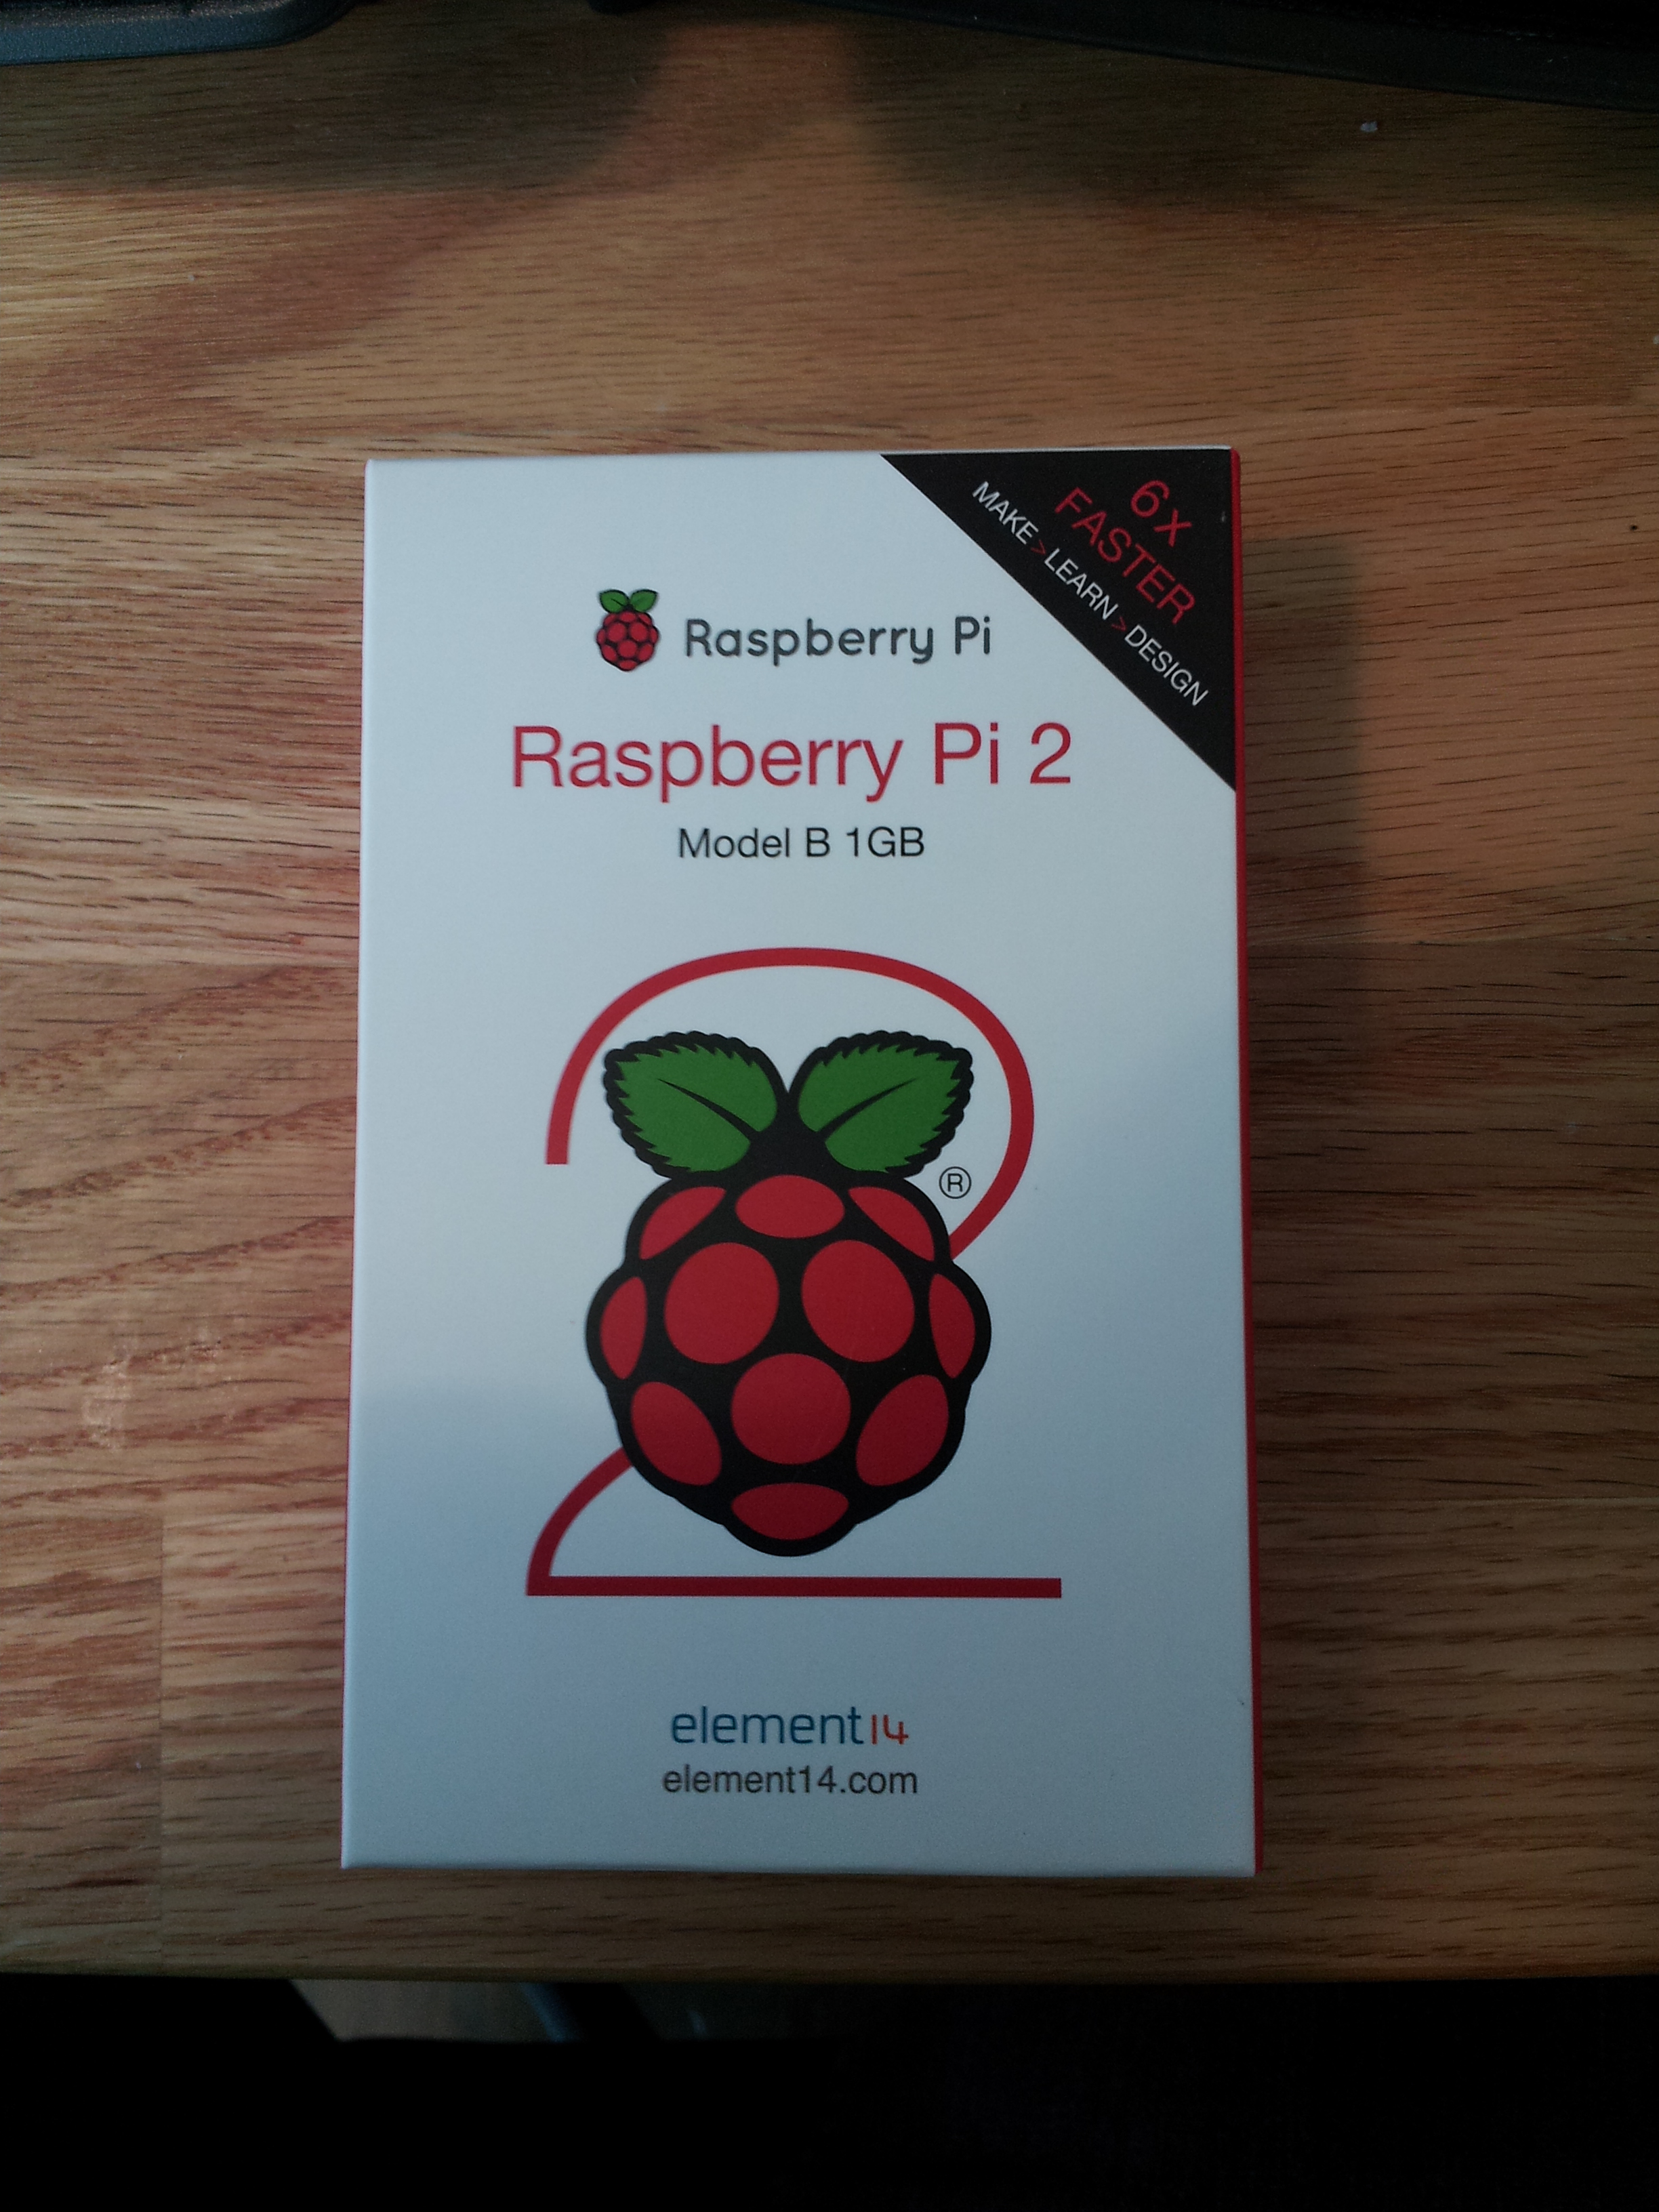

I grabbed one of the many Raspberry Pi startup kits for . You can go cheaper if you have some of the necessary cables laying around (the base Pi is just ). You can skip the WiFi Dongle if you have a LAN hub in place and an extra cable for instance.
I won’t write a full setup guide here – you can find some good ones online – just a quick demo.
There was an unused monitor in our office, so I hooked it up via the Pi’s HDMI port. The Pi doesn’t have its own speakers, but did you know most modern monitors can play sounds via HDMI? I was surprised myself.
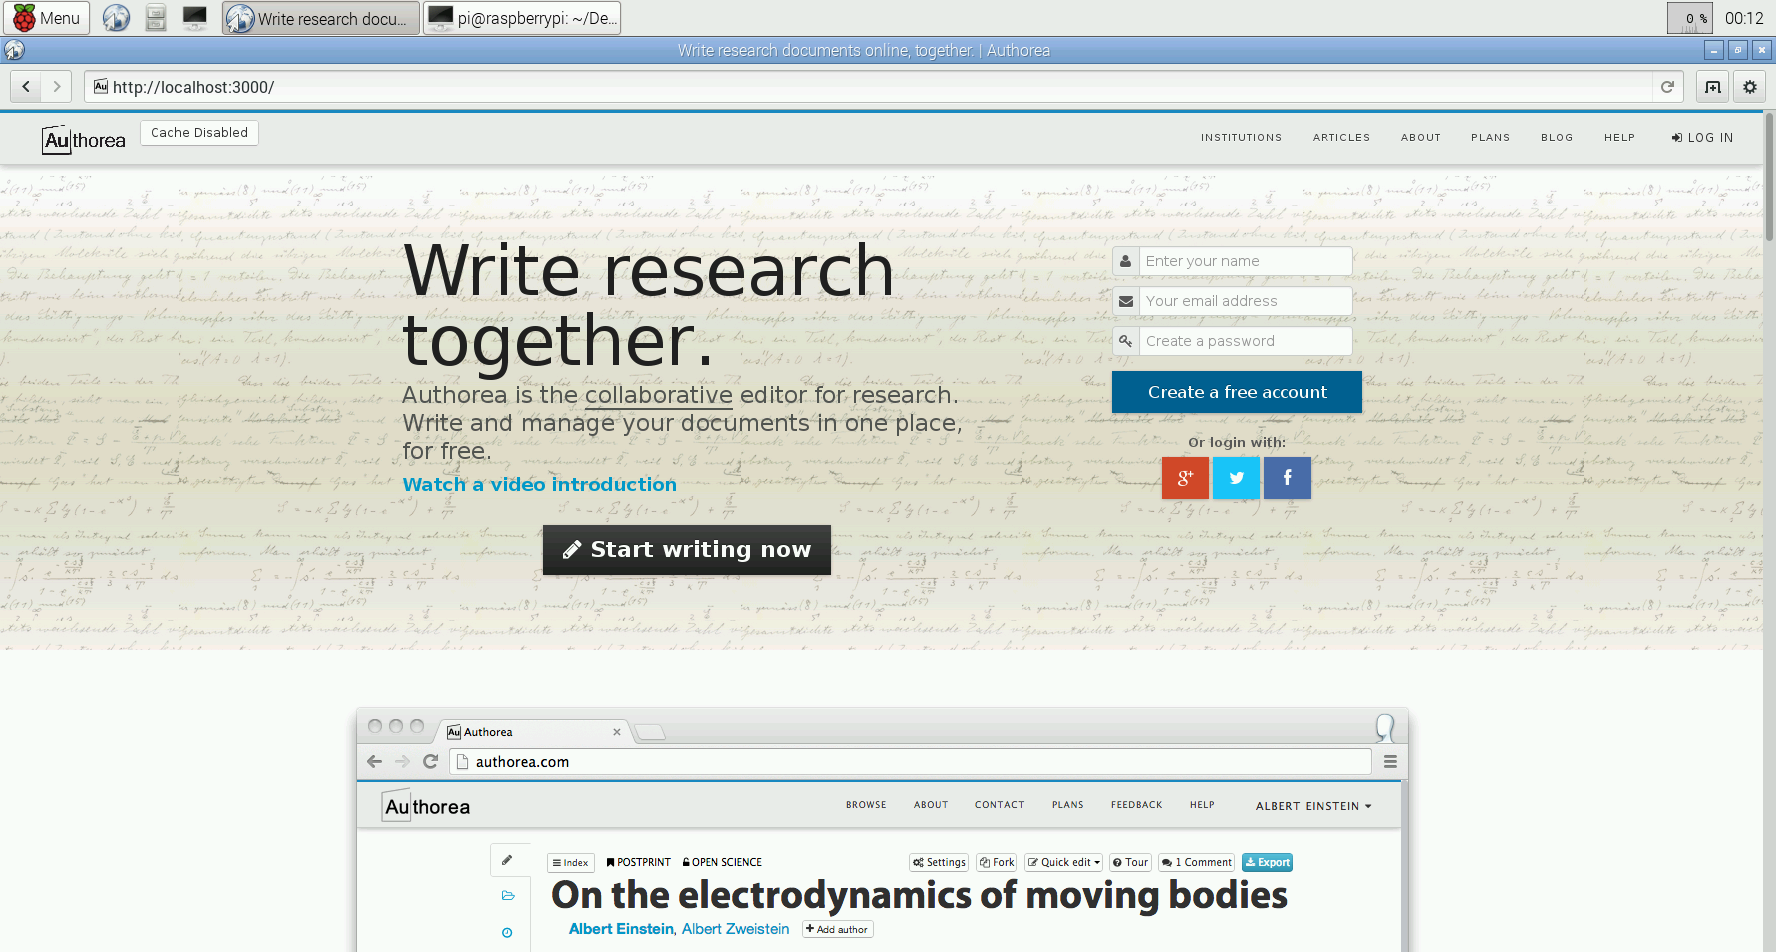
Once you get booted up, you can setup synergy and remote control your new server from your main workstation. Extra monitor? Check.
Setting up a test server is an experience that varies with your software stack. At Authorea, we use a standard flavour of Ruby on Rails, which is generally painless to setup. The one catch may be natively building some of the binaries – therubyracer was my one and only pain point. The answer that worked for me was hidden in a Gitlab installation walkthrough.
Once you have Rails setup, you are basically done and can startup your app…
…and run your favourite test suite. Whether you want to have a cron job sync with your version control repository (we are hosted on GitHub) or do things over the local network via rsync, it’s all good.
Personally, I am not using my Pi setup to test production; we have more reliable tools for that. Instead, I am testing the integrity of my local changes before pushing them online, minimizing the publicity of my blunders. :)
It’s also a benchmark for keeping our test suite lean and our environment portable, given the Pi’s humble capabilities. The Pi 2 has just enough juice to manage our test suite with its quad core 1Ghz CPU, but would definitely struggle through anything much larger. Just another way to ensure maximum efficiency on Authorea.
While I would not recommend this approach to a test harness as company policy, the Pi is a great friend for the working developer and his local workstation. You get a lot of power and a lot of potential for what you pay, and if you include the fun factor (who doesn’t want to play around with a Raspberry Pi?), this is a test server at a bargain.
– Deyan

Special thanks to our Guest Editors: Jace Harker and Jeff Montgomery